What You'll Build
By the end of this tutorial you'll have a complete chiptune loop with drums, bass and melody — ready to play, loop and export. No music theory required. Everything happens inside your browser.
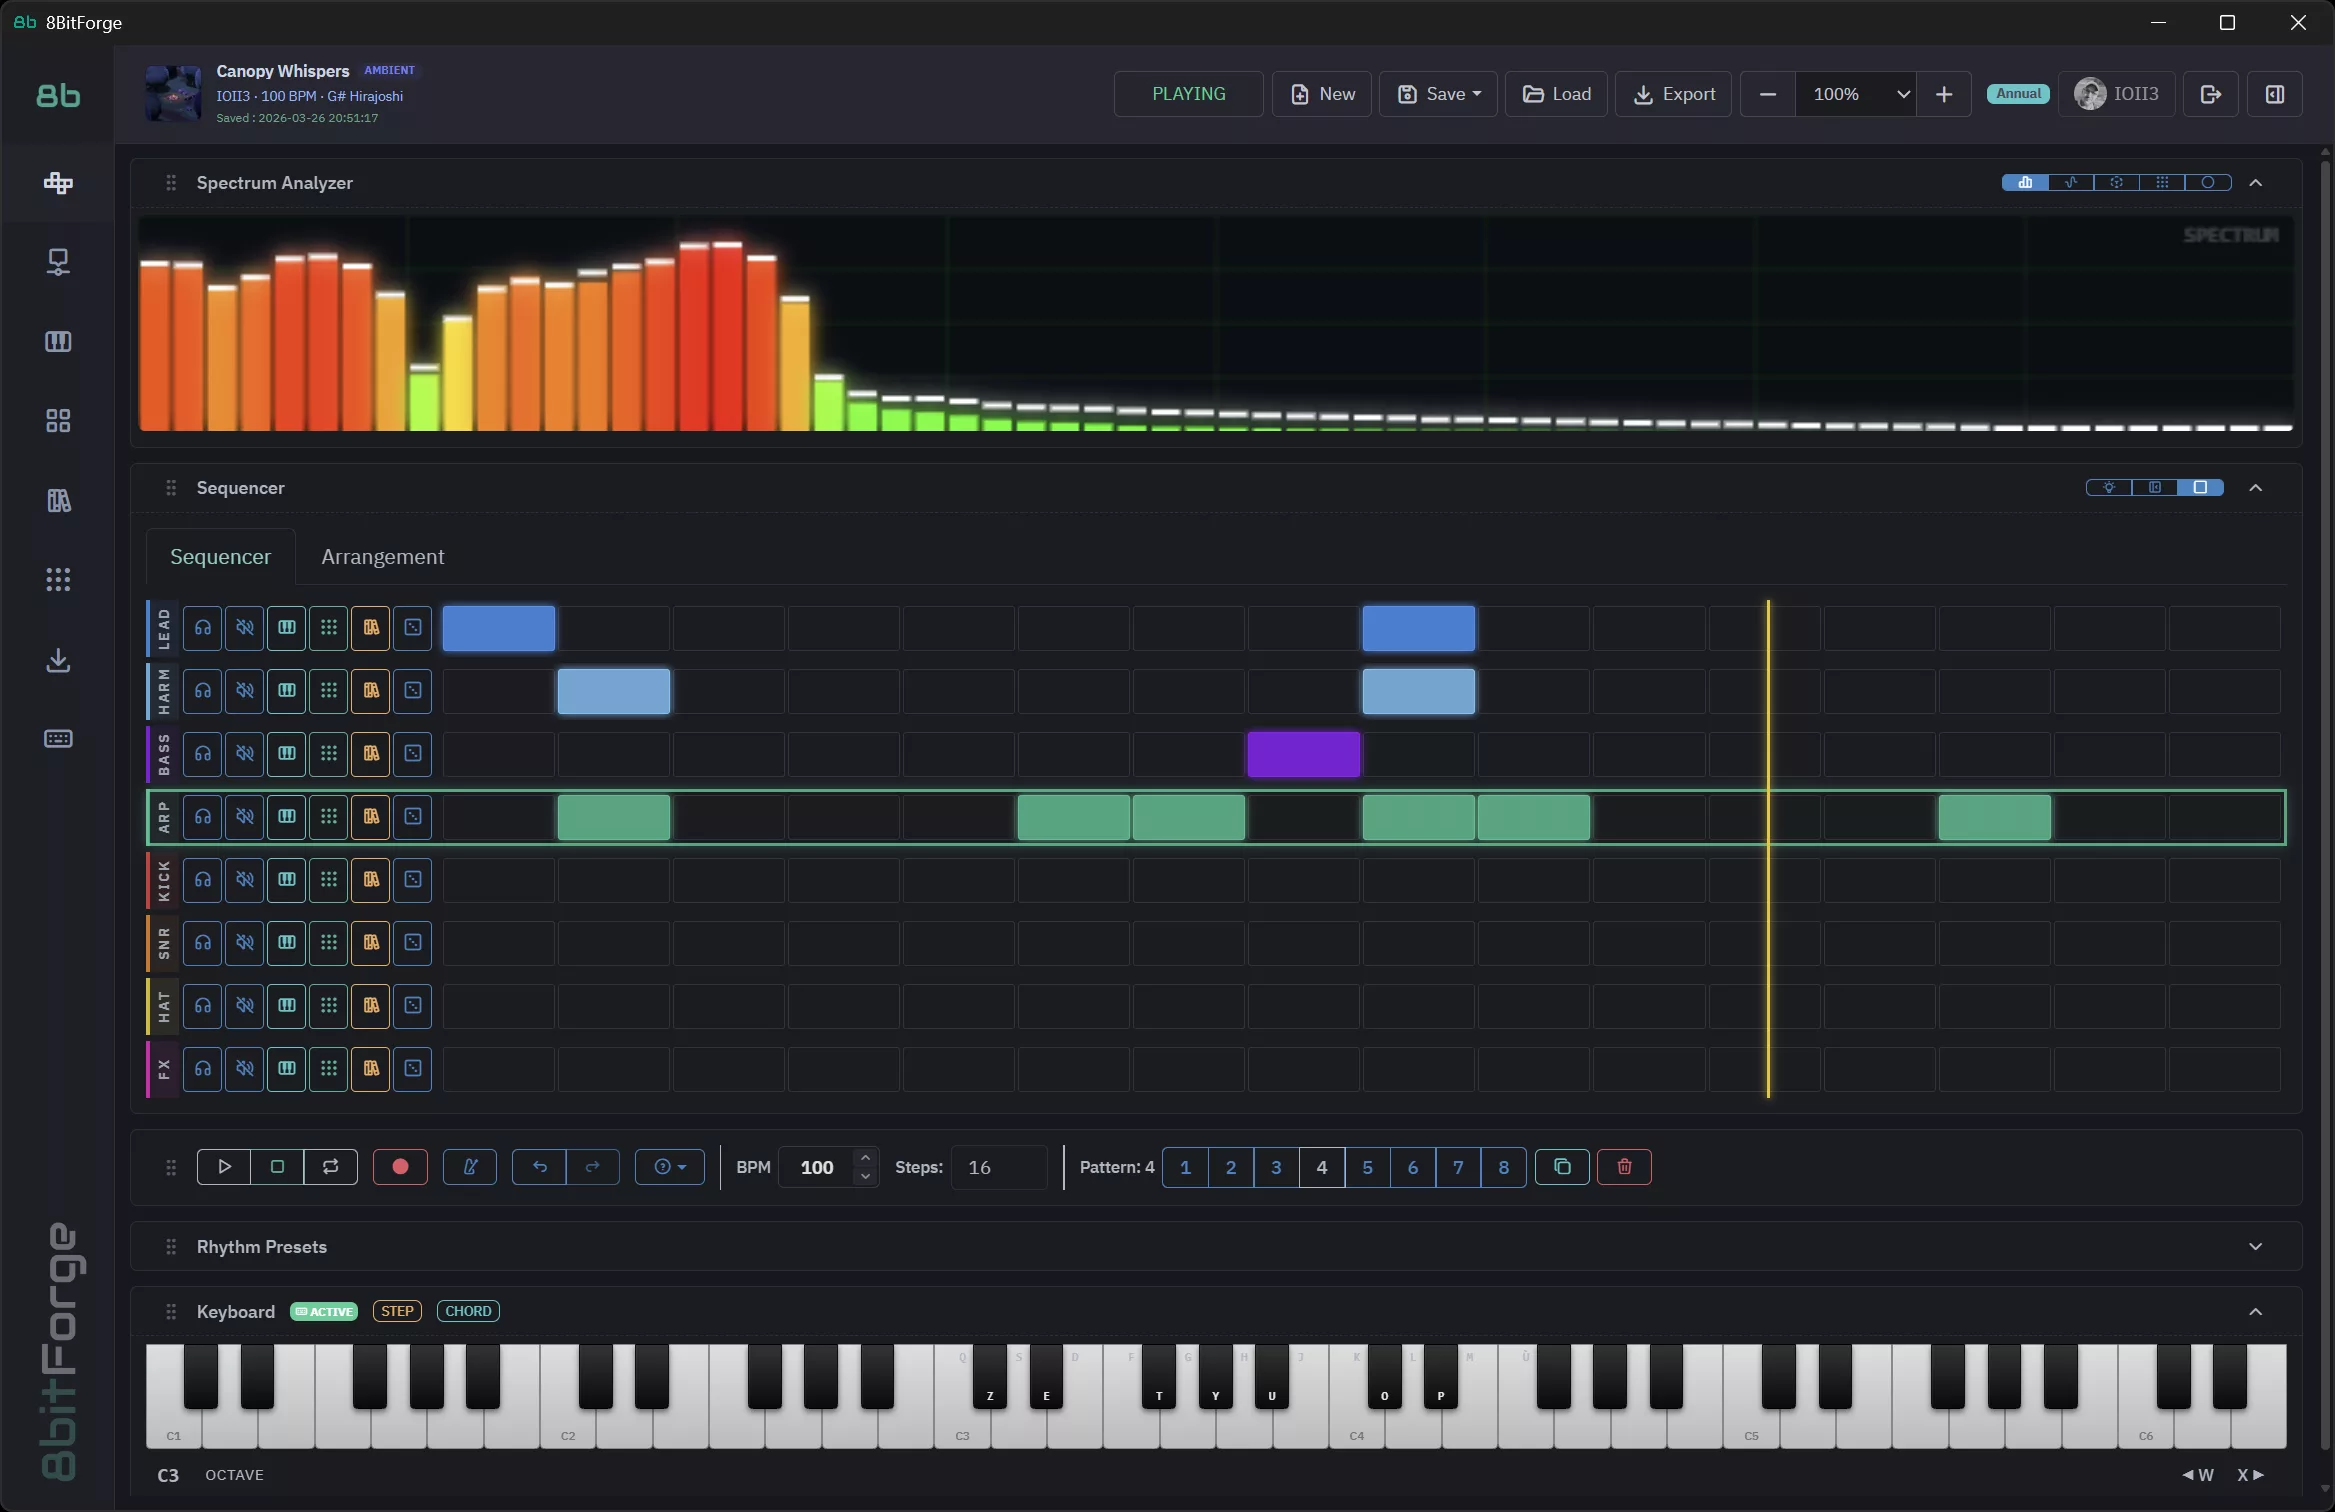
Step 1 — Create a New Project
Open 8Bit Forge and click the New button in the top bar. Confirm the dialog to start with a clean slate. You'll see 8 empty tracks: LEAD, HARM, BASS, ARP, KICK, SNR, HAT, FX.
Set the BPM to 130 by clicking the BPM field in the transport bar, typing 130 and pressing Enter. 130 BPM is a sweet spot — punchy enough for action, relaxed enough for melody.
Step 2 — Program the Drums
We'll build a classic 4-on-the-floor drum pattern. The idea is simple:
- KICK (red) — hits on every beat: steps 1, 5, 9, 13
- SNARE (orange) — backbeat on beats 2 and 4: steps 5 and 13
- HI-HAT (yellow) — eighth notes every 2 steps: 1, 3, 5, 7, 9, 11, 13, 15
Click each cell in the grid to toggle it on. Active cells light up in their track color. Click again to remove a note.
Step 3 — Add a Bass Line
Click cells on the BASS track (purple). The bass plays in octave 2 by default — deep and warm. We'll build a simple walking pattern that follows the kick drum rhythm:
- Steps 1 and 3 → C2
- Step 5 → G2 (a fifth up — tension)
- Steps 9 and 11 → C2
- Step 13 → F2 (the four chord — resolution)
- Step 15 → C2
To change which note a cell plays, right-click on an active cell. A note selector appears. Pick your note and octave, then confirm.
Step 4 — Add the Lead Melody
The LEAD track (blue) plays in octave 4 — bright and cutting through the mix. We'll use a simple ascending/descending phrase in C major:
C4 → E4 → G4 → E4 → C4 → D4 → E4 → G4
Each note goes on every other step (1, 3, 5, 7, 9, 11, 13, 15). This gives a smooth, melodic feel against the driving drum pattern.
Step 5 — Edit Notes in the Piano Roll
For precise note control, click the piano icon on any track to open the Piano Roll. You'll see a grid with notes plotted horizontally across 16 steps and vertically across all available pitches (C1 to E6).
- Left-click drag → paint a note
- Click existing note → erase it
- Scroll vertically → navigate octaves
Step 6 — Press Play
Click the ▶ Play button (or press Space). The yellow playhead moves across the grid, the VU meter at the top of the screen lights up, and you hear your beat come to life.
Enable the Loop button (↺) next to Play to repeat the pattern endlessly while you tweak notes and sounds.
Step 7 — Save Your Project
Click Save → Save to Cloud in the top bar. Give your project a name, set a category (e.g. Custom), and hit Save. Your project is stored in your account and accessible from any device.
What's Next?
You've built your first complete chiptune loop. Here's where to go from here:
- Arrangement view → chain multiple patterns into a full song structure (verse, chorus, bridge)
- Synth panel → shape each track's sound with ADSR envelopes, waveforms and effects
- Master FX → add reverb, delay or filter sweeps across the entire mix
- Export → render your beat as a WAV or MP3 file
Happy chip-tuning! 🎮